Father's Day Tool Card Pattern
Posted by Nancy Murray on
Remember this card I made for my dad? It was for his birthday, but it would make a fantastic Father's Day card too, don't you think? Keep reading for instructions on how to make it, including dimensions for all the card pieces, a link to purchase the tools, and a link to download the handwritten "dad" absolutely free! {The free download is no longer available.}


- Cut an 8 1/2" x 11" piece of cardstock in half horizonally to end up with two pieces 8 1/2" x 5 1/2". Score and fold one piece in half along the dotted line shown in the diagram to create a card base 5 1/2" wide by 4 1/2" tall.
- Cut three more cardstock pieces in alternating colors according to the dimensions below:
- 4" x 5 1/4"
- 3" x 4 1/4"
- 2 7/8" x 4 1/8"
- If you have an embossing machine (I used my Texture Boutique), emboss the smallest of the three pieces.
- Center and layer the pieces in order of size, adhere them together and adhere all three pieces to the card base.
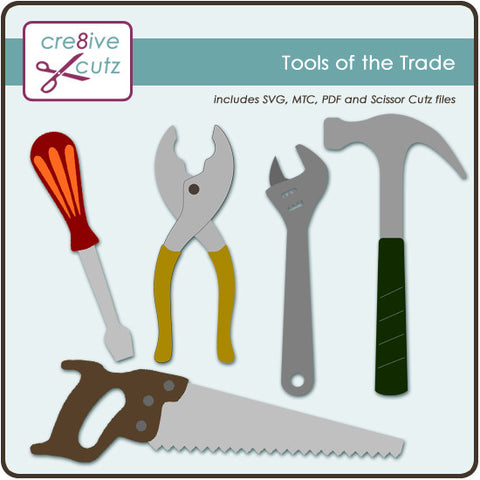
- Size the tools in your cutting software so they will fit on the card as shown. On my card, the hammer is approximately 1 1/2" tall and the rest of the tools are sized proportionately. Cut all the tool pieces out and layer them together to form the individual tools.
- Arrange the tools on the card front as desired and adhere.
- Size the Dad cutting file to approximately 3" wide in your cutting software. Cut out both pieces. Adhere the word to the shadow outline, then adhere both to the card front.
That's all there is to it! Such a simple card to make, but it makes a big impression! Click the image below to purchase the Tools of the Trade SVG cutting file. Click the image below to download the handwritten Dad SVG cutting file absolutely free!